In the first part of this serie we checked the basics of the Graph API. Now in this part we will use a dedicated PowerShell module to explore the API further more.
Introduction
Microsoft provides simple tools to use Graph API without dealing too much with programming knowledge. In this article we will use PowerShell and the PowerShell Module Microsoft.Graph (known als PowerShell SDK) to do basically the same tasks we did in part 1 of this article series.
Installation
Before we can start we have to install the PowerShell module Microsoft.Graph - preferable on top of PowerShell version 7. To start install following packages on your system (you should have administrator rights):
- PowerShell Version 7. Start the pre-installed PowerShell on your system with administrative privileges and issue following command:
winget install --id Microsoft.Powershell --source winget
Agree to install the package.
- PowerShell module
Microsoft.Graph: Start your newly installed PowerShell Version 7 with administrative privileges and issue following commands:
Set-ExecutionPolicy -ExecutionPolicy RemoteSigned -Scope AllUsers
Install-Module Microsoft.Graph -Scope AllUsers
Verify your installation
To make sure that you successfully installed the required software open a PowerShell command line and issue following commands:
$PSVersionTable
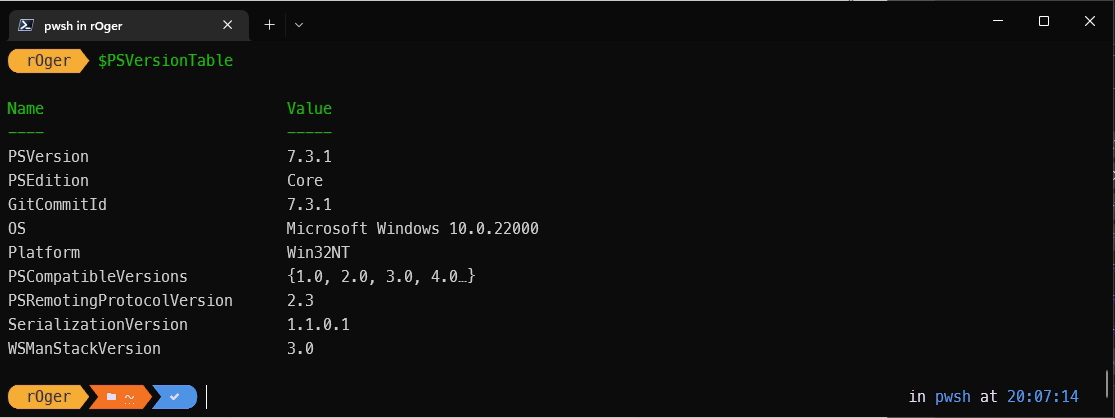
$PSVersionTable - you should see version number 7.x.x in line PSVersion (here 7.3.1).
Get-InstalledModule
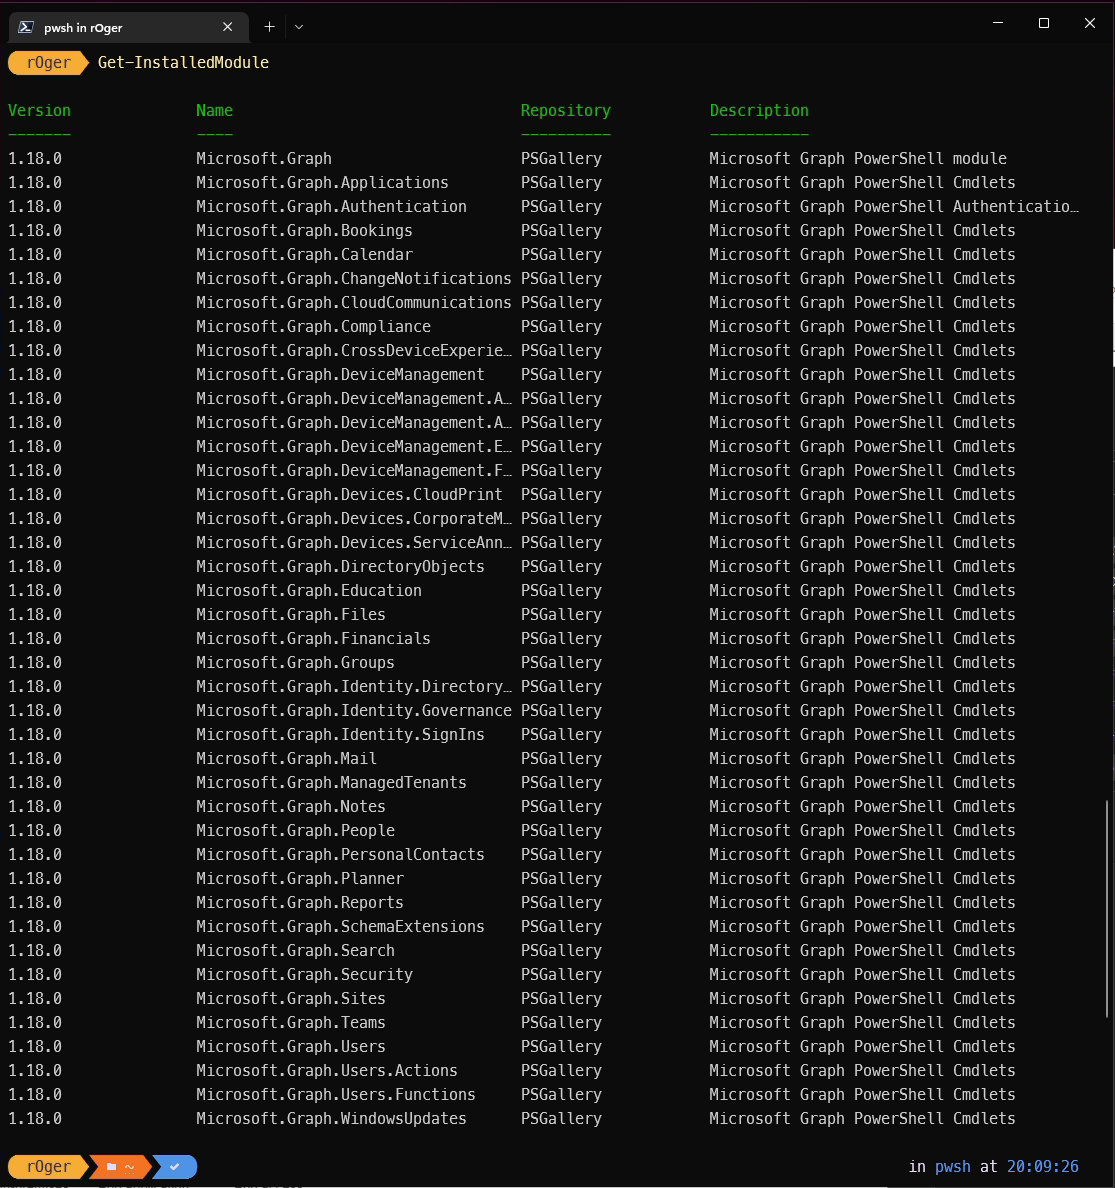
Get-InstalledModule - you should see a bunch of Microsoft.Graph modules.
Perfect. Now you are ready for the first steps!
First step with PowerShell SDK for Graph API
So finally we have done all heavy work. Now we will use the stuff we installed. We will do basically the same task as we did in part 1 of this serie.
For this we have to do the following:
- Log into Azure AD with your credentials
- Query the Graph API with corresponding “cmdlet”
- Logoff
Log into Azure AD
This is simple. Just issue:
Connect-MgGraph
An Azure AD authentication will be started by opening a corresponding page in your web browser. You have to authenticate and give access to initiated session.
Remark: This requires that you are able to register applications in your tenant. Probably your admin has prohibited this possiblity; then you have to ask him for corresponding permissions.
Query Graph API with PowerShell “cmdlet”
Also a super easy task if you know the required command:
Get-MgUser
Detailed documentation: Get-MgUser
Logoff
Finally best practise is to logoff after you finished working with the PowerShell SDK:
Disconnect-MgGraph
Result
If everything working fine you should see something like the following screenshot:

A deeper look
Even the PowerShell SDK provides many different commands as equivalents for corresponding API calls not every call is implemented. But you have now already done the required ground work to use the API.
Do you remember the Graph API Url you played around in part 1 of this serie?
GET https://graph.microsoft.com/v1.0/me
As soon as you are signed in your AAD account (with Connect-MgGraph) you can call directly API Urls in this way:
Invoke-MgGraphRequest -Method GET https://graph.microsoft.com/v1.0/me

Invoke-MgGraphRequest -Method GET https://graph.microsoft.com/v1.0/me.
Next steps
Try to query more information with PowerShell cmdlet’s:
Get-MgUserMemberOf, see https://learn.microsoft.com/en-us/powershell/module/microsoft.graph.users/get-mgusermemberof?view=graph-powershell-1.0
Further Reading
Microsoft has a very nice documentation regarding all the PowerShell SDK cmdlets. Here are some pointers:
- Installation of Microsoft Graph PowerShell SDK: https://learn.microsoft.com/en-us/powershell/microsoftgraph/installation?view=graph-powershell-1.0
- Authentication: https://learn.microsoft.com/en-us/powershell/microsoftgraph/get-started?view=graph-powershell-1.0#authentication
Get-MgUser: https://learn.microsoft.com/en-us/powershell/module/microsoft.graph.users/get-mguser?view=graph-powershell-1.0- Other cmdlets in module
Microsoft.Graph.Users: https://learn.microsoft.com/en-us/powershell/module/microsoft.graph.users/?view=graph-powershell-1.0